User Guide
Once your license is activated, you're just 4 steps away from your first automated maintenance run.
Follow the steps below in order to get set up.
Register an SSH Profile
Register your SSH connection details as a "profile." When adding a site, simply select a profile to complete the SSH setup. Updating a profile automatically applies to all linked sites.
Once filled in, use the Test Connection button to verify the settings before saving — this lets you catch misconfigurations before they become hard-to-diagnose errors.
| Field | Description | Type |
|---|---|---|
| Profile Name | A recognizable label for this profile (e.g. Xserver Production) |
Required |
| SSH Host | Your server's hostname — check your hosting control panel (e.g. sv12345.xserver.jp) |
Required |
| SSH User | Your SSH login username — usually the same as your FTP username on shared hosting | Required |
| SSH Port | Usually 22. Xserver uses 10022 |
Required |
| Private Key Path | Path to your SSH private key file (e.g. ~/.ssh/id_rsa) |
Recommended |
| SSH Passphrase | Only required if your private key is protected by a passphrase. Leave blank if no passphrase is set | Optional |
| WP-CLI Path | Leave blank for most servers. Only specify if WP-CLI is installed at a custom path | Optional |

Test Connection
After filling in the fields, click Test Connection to verify the SSH connection instantly — before saving or adding any sites. Any misconfiguration is caught here with a clear, specific error message.
- 1 Enter the SSH host, user, and key path, then click Test Connection
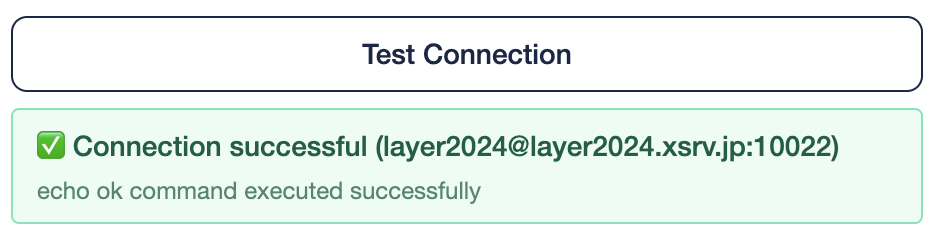
- 2 On success: a green ✅ Connection successful banner appears with the verified host and port
- 3 On failure: a red banner shows the error type and technical detail — follow the message to fix the setting
- Authentication failed → Check username, private key path, and passphrase
- Passphrase required → Enter the passphrase in the SSH Passphrase field and retry
- Cannot resolve hostname → Check for typos in the SSH Host field
- Connection timed out → Verify the port number or check your firewall settings
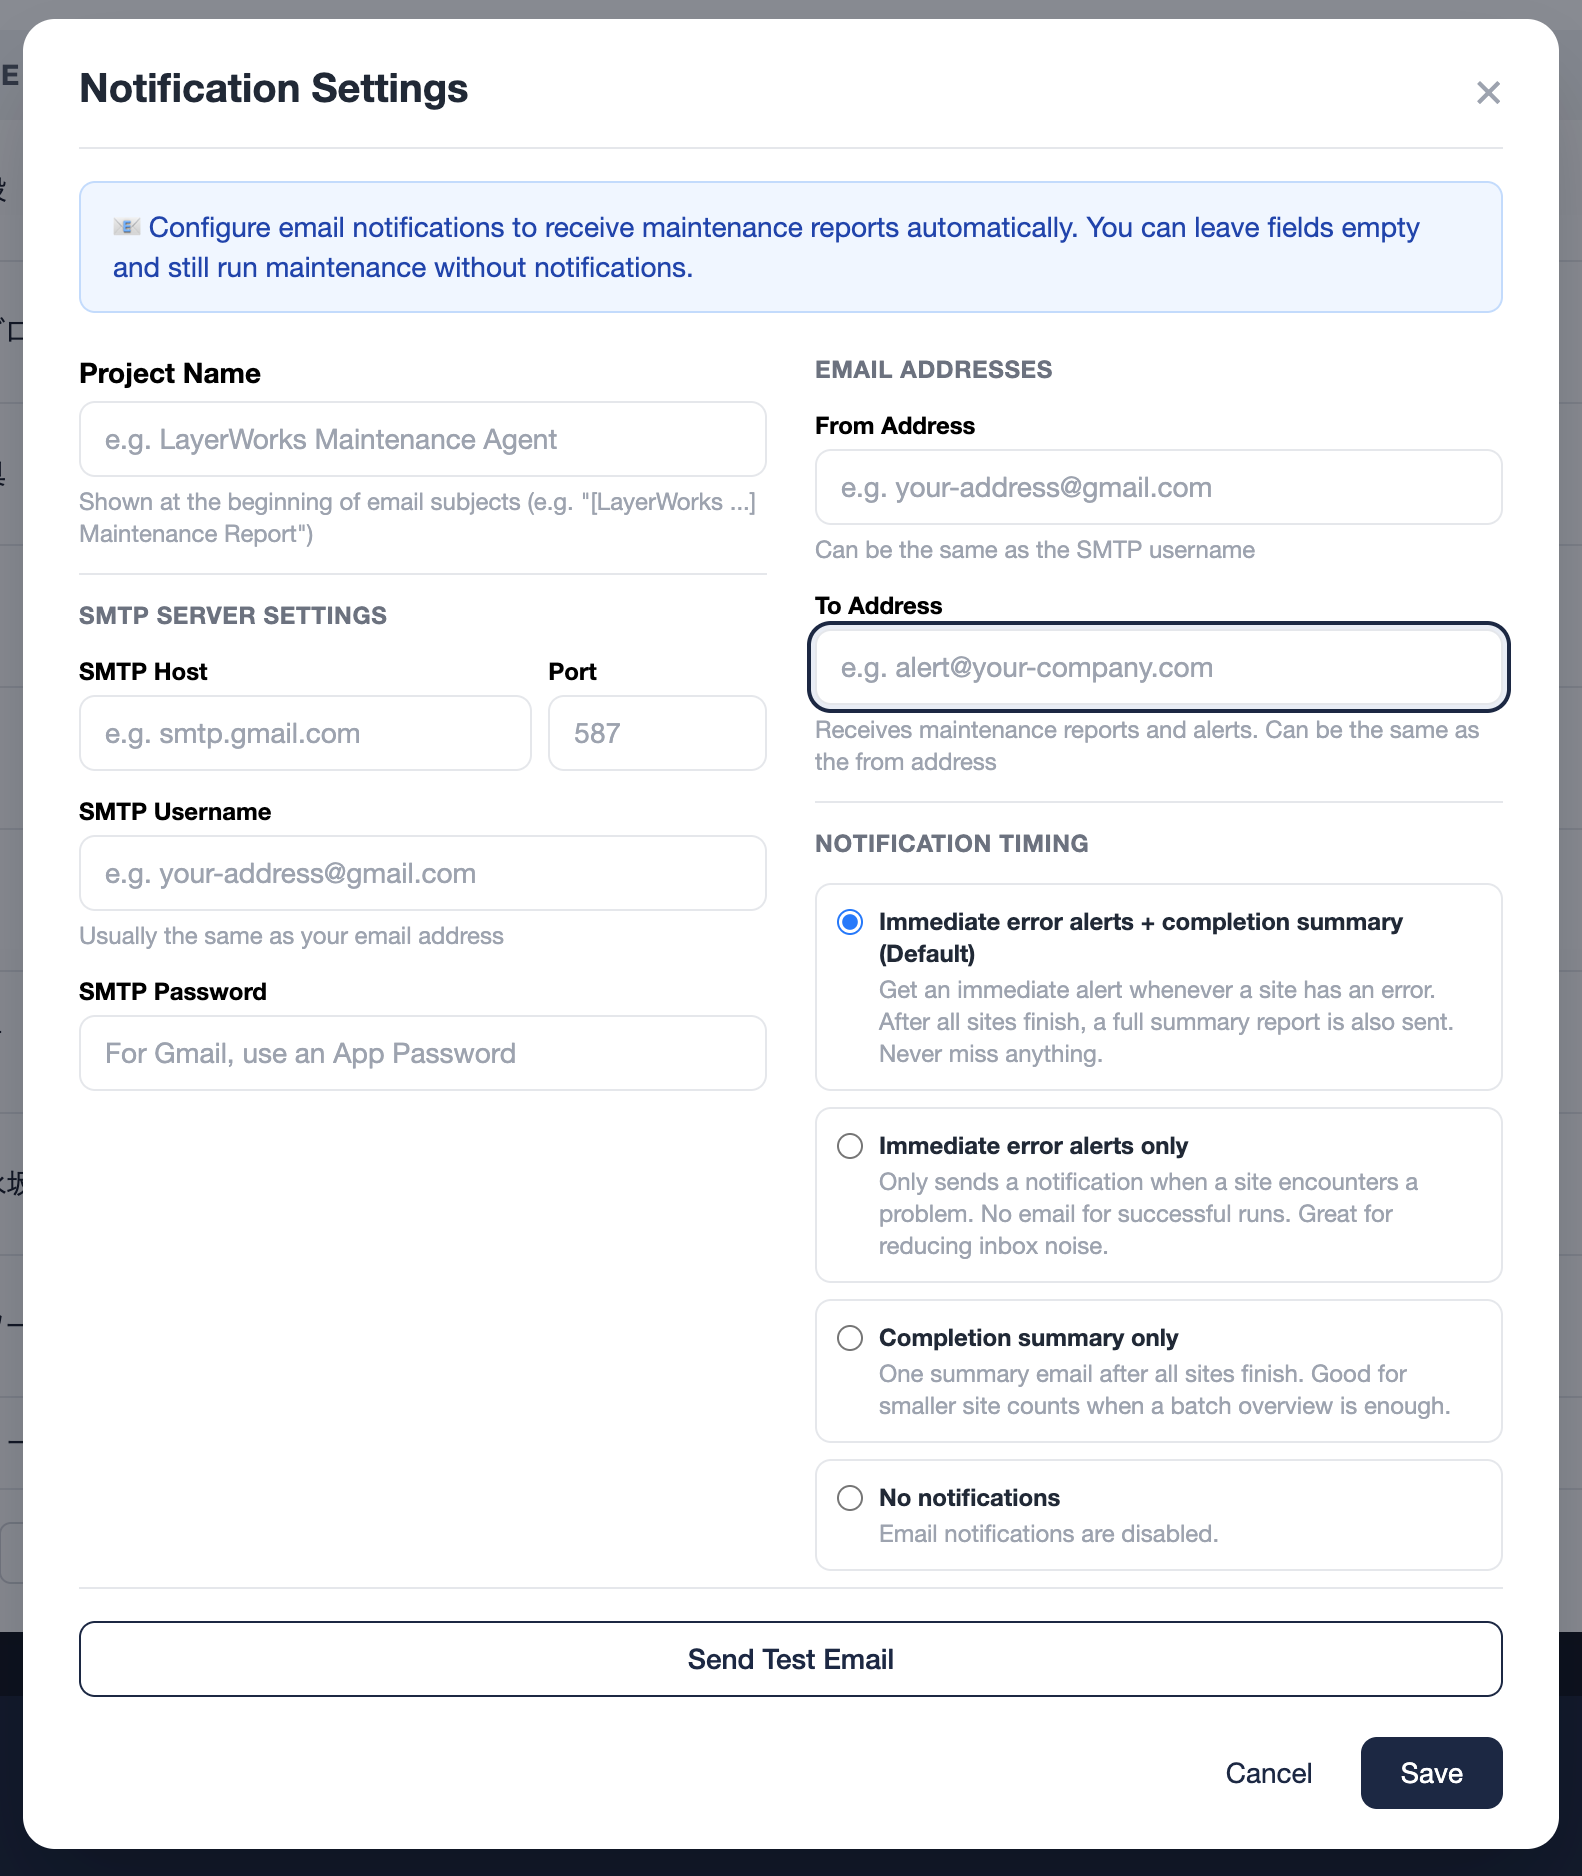
Configure Notifications
Get an email when maintenance finishes — or an immediate alert if something goes wrong. You can skip this step and use the app without notifications, but setting it up is highly recommended.
| Field | Description | Type |
|---|---|---|
| SMTP Host | Your outgoing mail server address (e.g. smtp.gmail.com) |
Required |
| Port | Usually 587 (STARTTLS) |
Required |
| SMTP Username | Usually the same as your email address | Required |
| SMTP Password | For Gmail, you must use an App Password — your regular Gmail password will not work | Required |
| From Address | Can be the same as your SMTP username | Required |
| To Address | Where reports and alerts will be delivered | Required |
| Notification Timing |
Choose from 4 notification modes: ① Errors immediately + summary (default & recommended) ② Errors only (immediate) ③ Summary only ④ No notifications |
Optional |
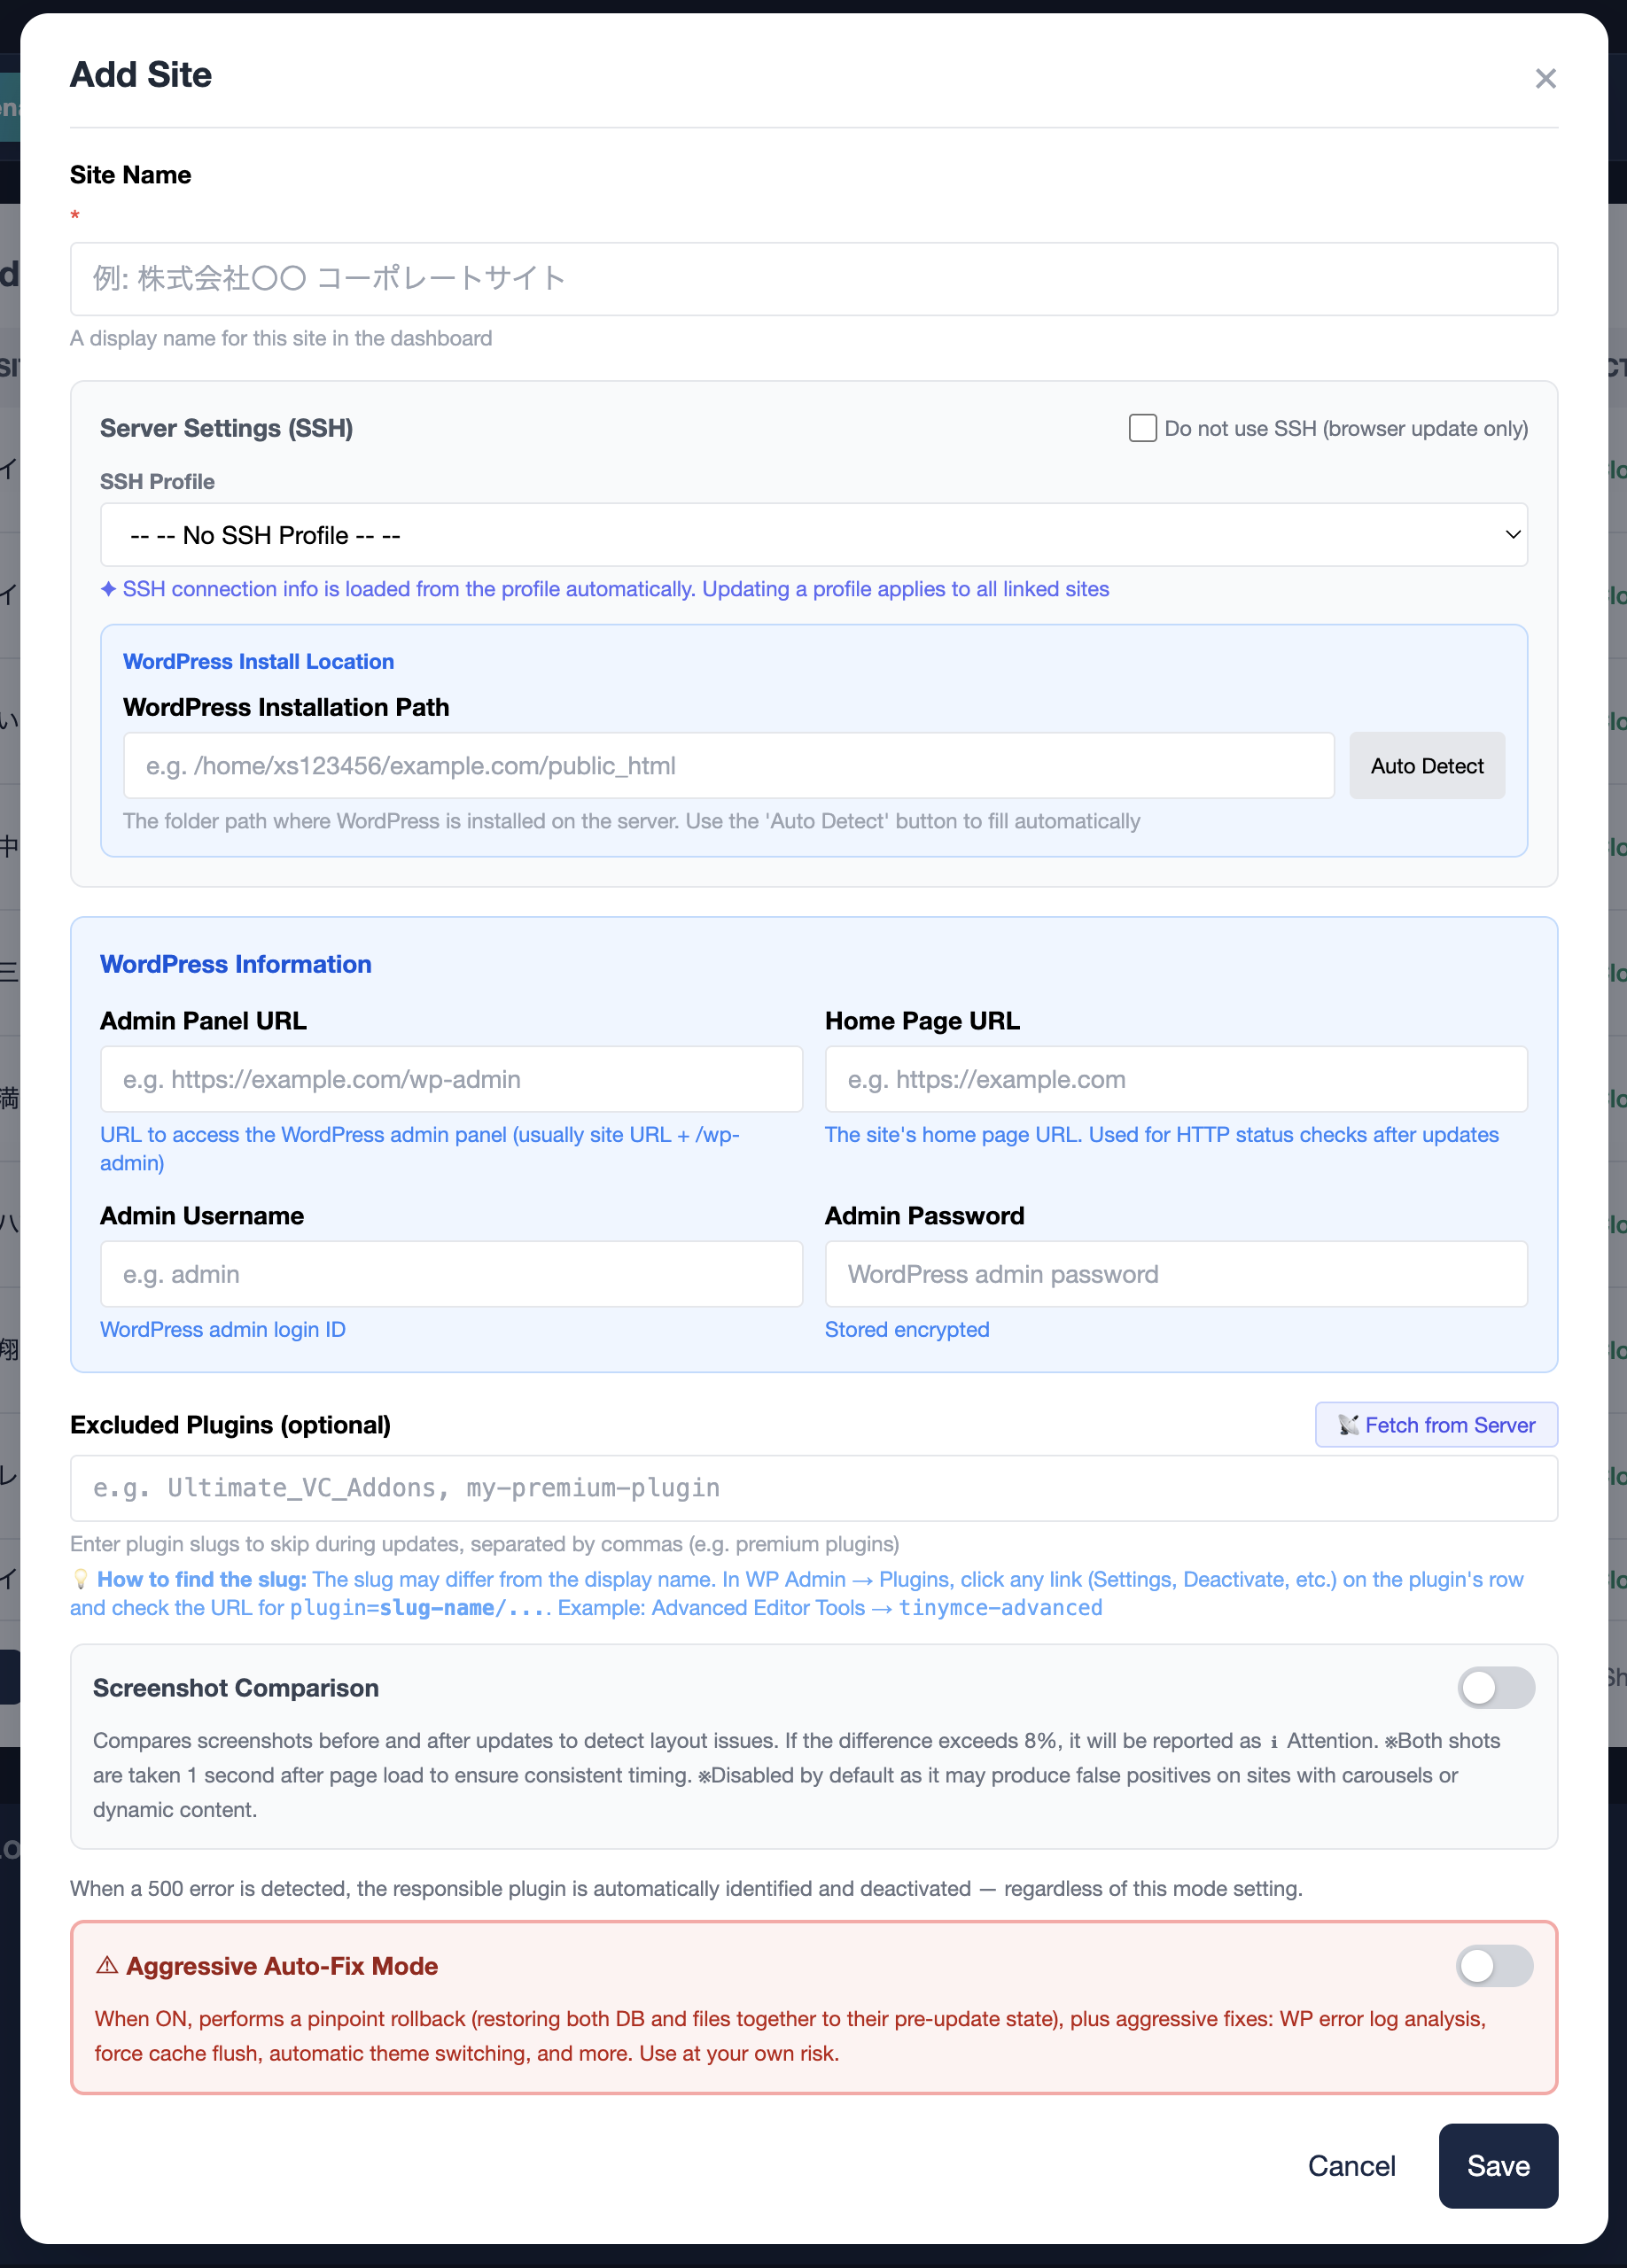
Register a WordPress Site
Add the WordPress site you want to maintain. You'll need your WordPress admin credentials and the SSH profile you created in STEP 1.
Basic Info
| Field | Description | Type |
|---|---|---|
| Site Name | A label for this site — shown in logs and reports (e.g. Acme Corp Website) |
Required |
| Site URL | The homepage URL (e.g. https://example.com) |
Required |
| WP Admin URL | Usually the site URL with /wp-admin appended |
Required |
| WP Admin Username | Your WordPress login username (must have administrator role) | Required |
| WP Admin Password | Your WordPress login password | Required |
SSH / Server Info
| Field | Description | Type |
|---|---|---|
| SSH Profile | Select the profile you created in STEP 1. SSH connection details (host, user, key, WP-CLI path) are loaded from the profile automatically, and updating the profile applies to all linked sites | Recommended |
| WordPress Install Path | The server path to the WordPress installation directory (e.g. /home/xs123456/example.com/public_html). Use the "Auto-detect" button to fill it in automatically. |
Required |
Options
| Field | Description | Type |
|---|---|---|
| Screenshot Comparison | Automatically captures before/after screenshots and detects visual differences | Optional |
| Excluded Plugins | Plugins to skip during auto-updates. Click the "📡 Fetch from Server" button to display installed plugins as checkboxes — just check the ones to exclude. Manual entry (comma-separated slugs) is also available | Optional |
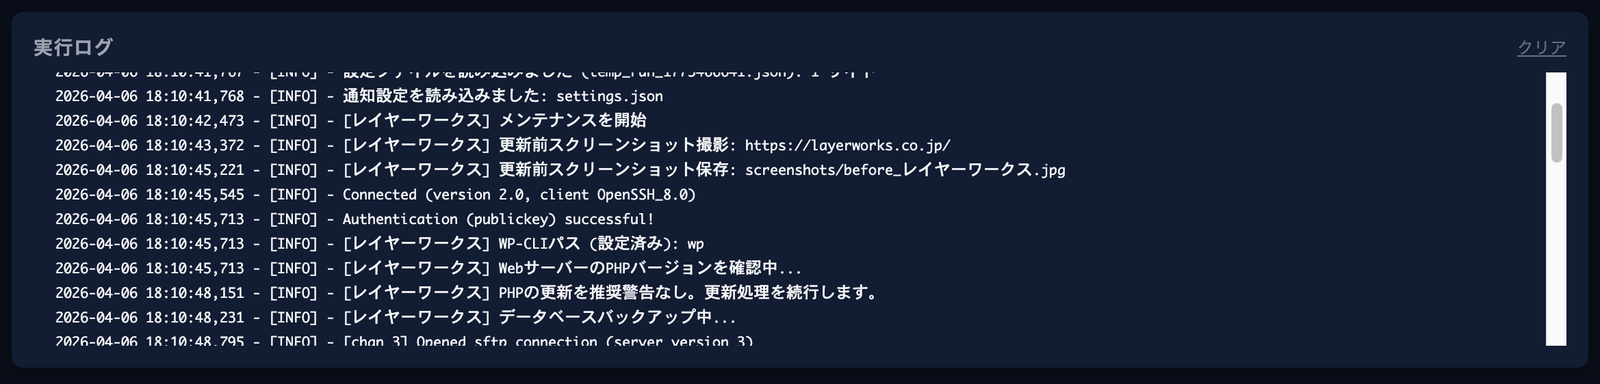
Run Maintenance
You're all set. Click "Run Maintenance" and the app will automatically perform: DB backup → core update → plugin updates → theme updates → translation updates.
- 1 Confirm your site(s) are listed in the site table (all registered sites will be included in the run)
- 2 Click "⚡ Run Maintenance". When the confirmation dialog appears, select "Run"
- 3 Real-time logs will stream in the console. Depending on the number of sites, this may take a few to several minutes
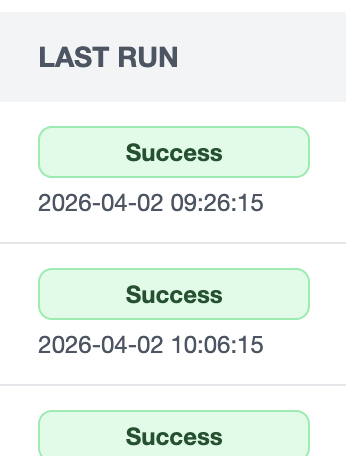
- 4 When finished, each site shows a result status (Success / Warning / Error). If notifications are configured, you'll receive an email as well
The 4 steps above cover everything you need for basic maintenance. The features below can make your workflow even more powerful.
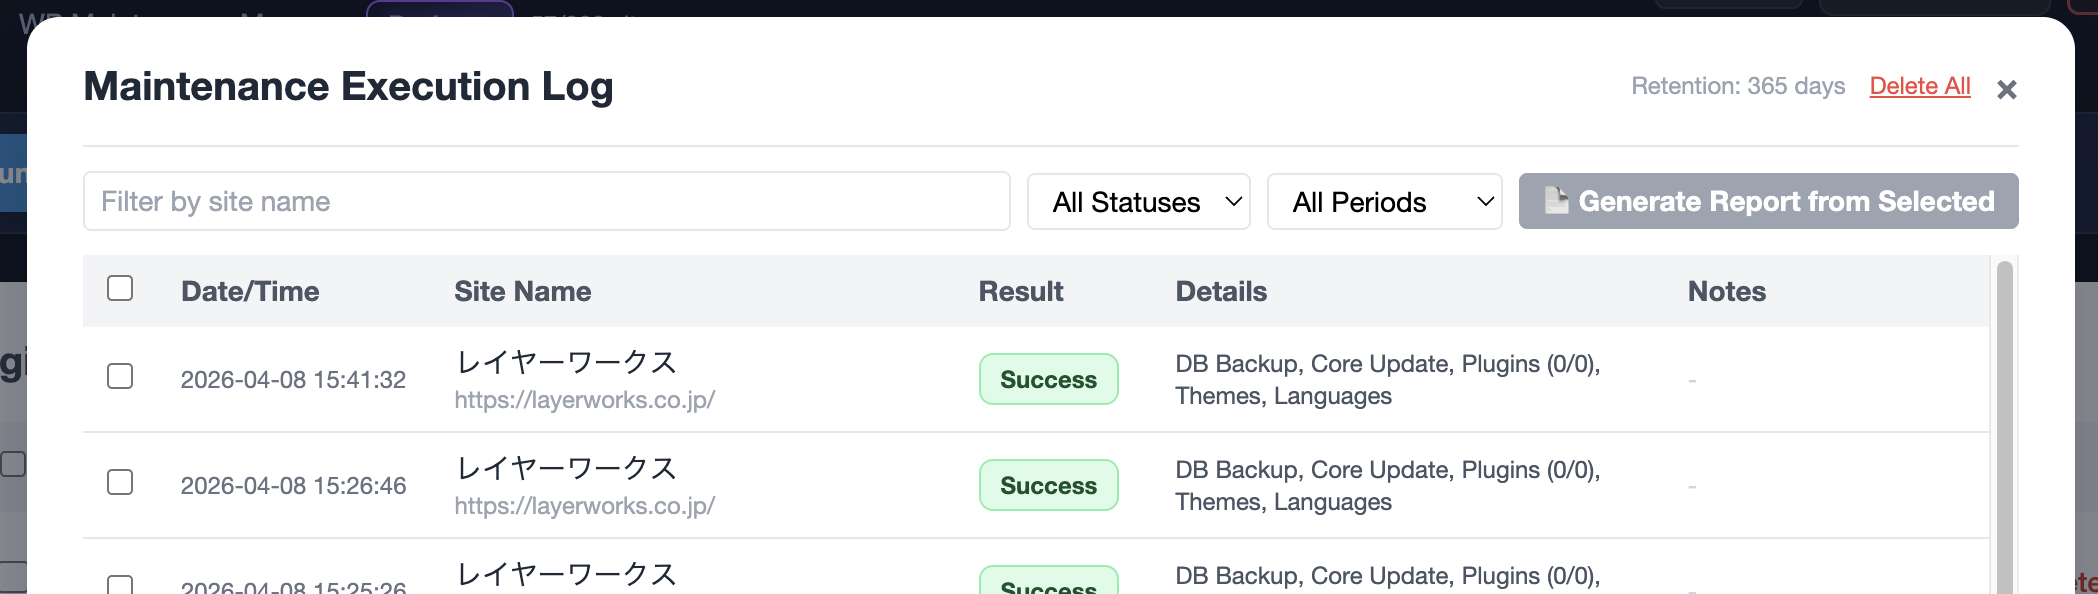
Browse all past maintenance runs in one place. Click any log entry to see which plugin versions changed, download the DB backup, or review screenshots. Logs are kept for up to 365 days.
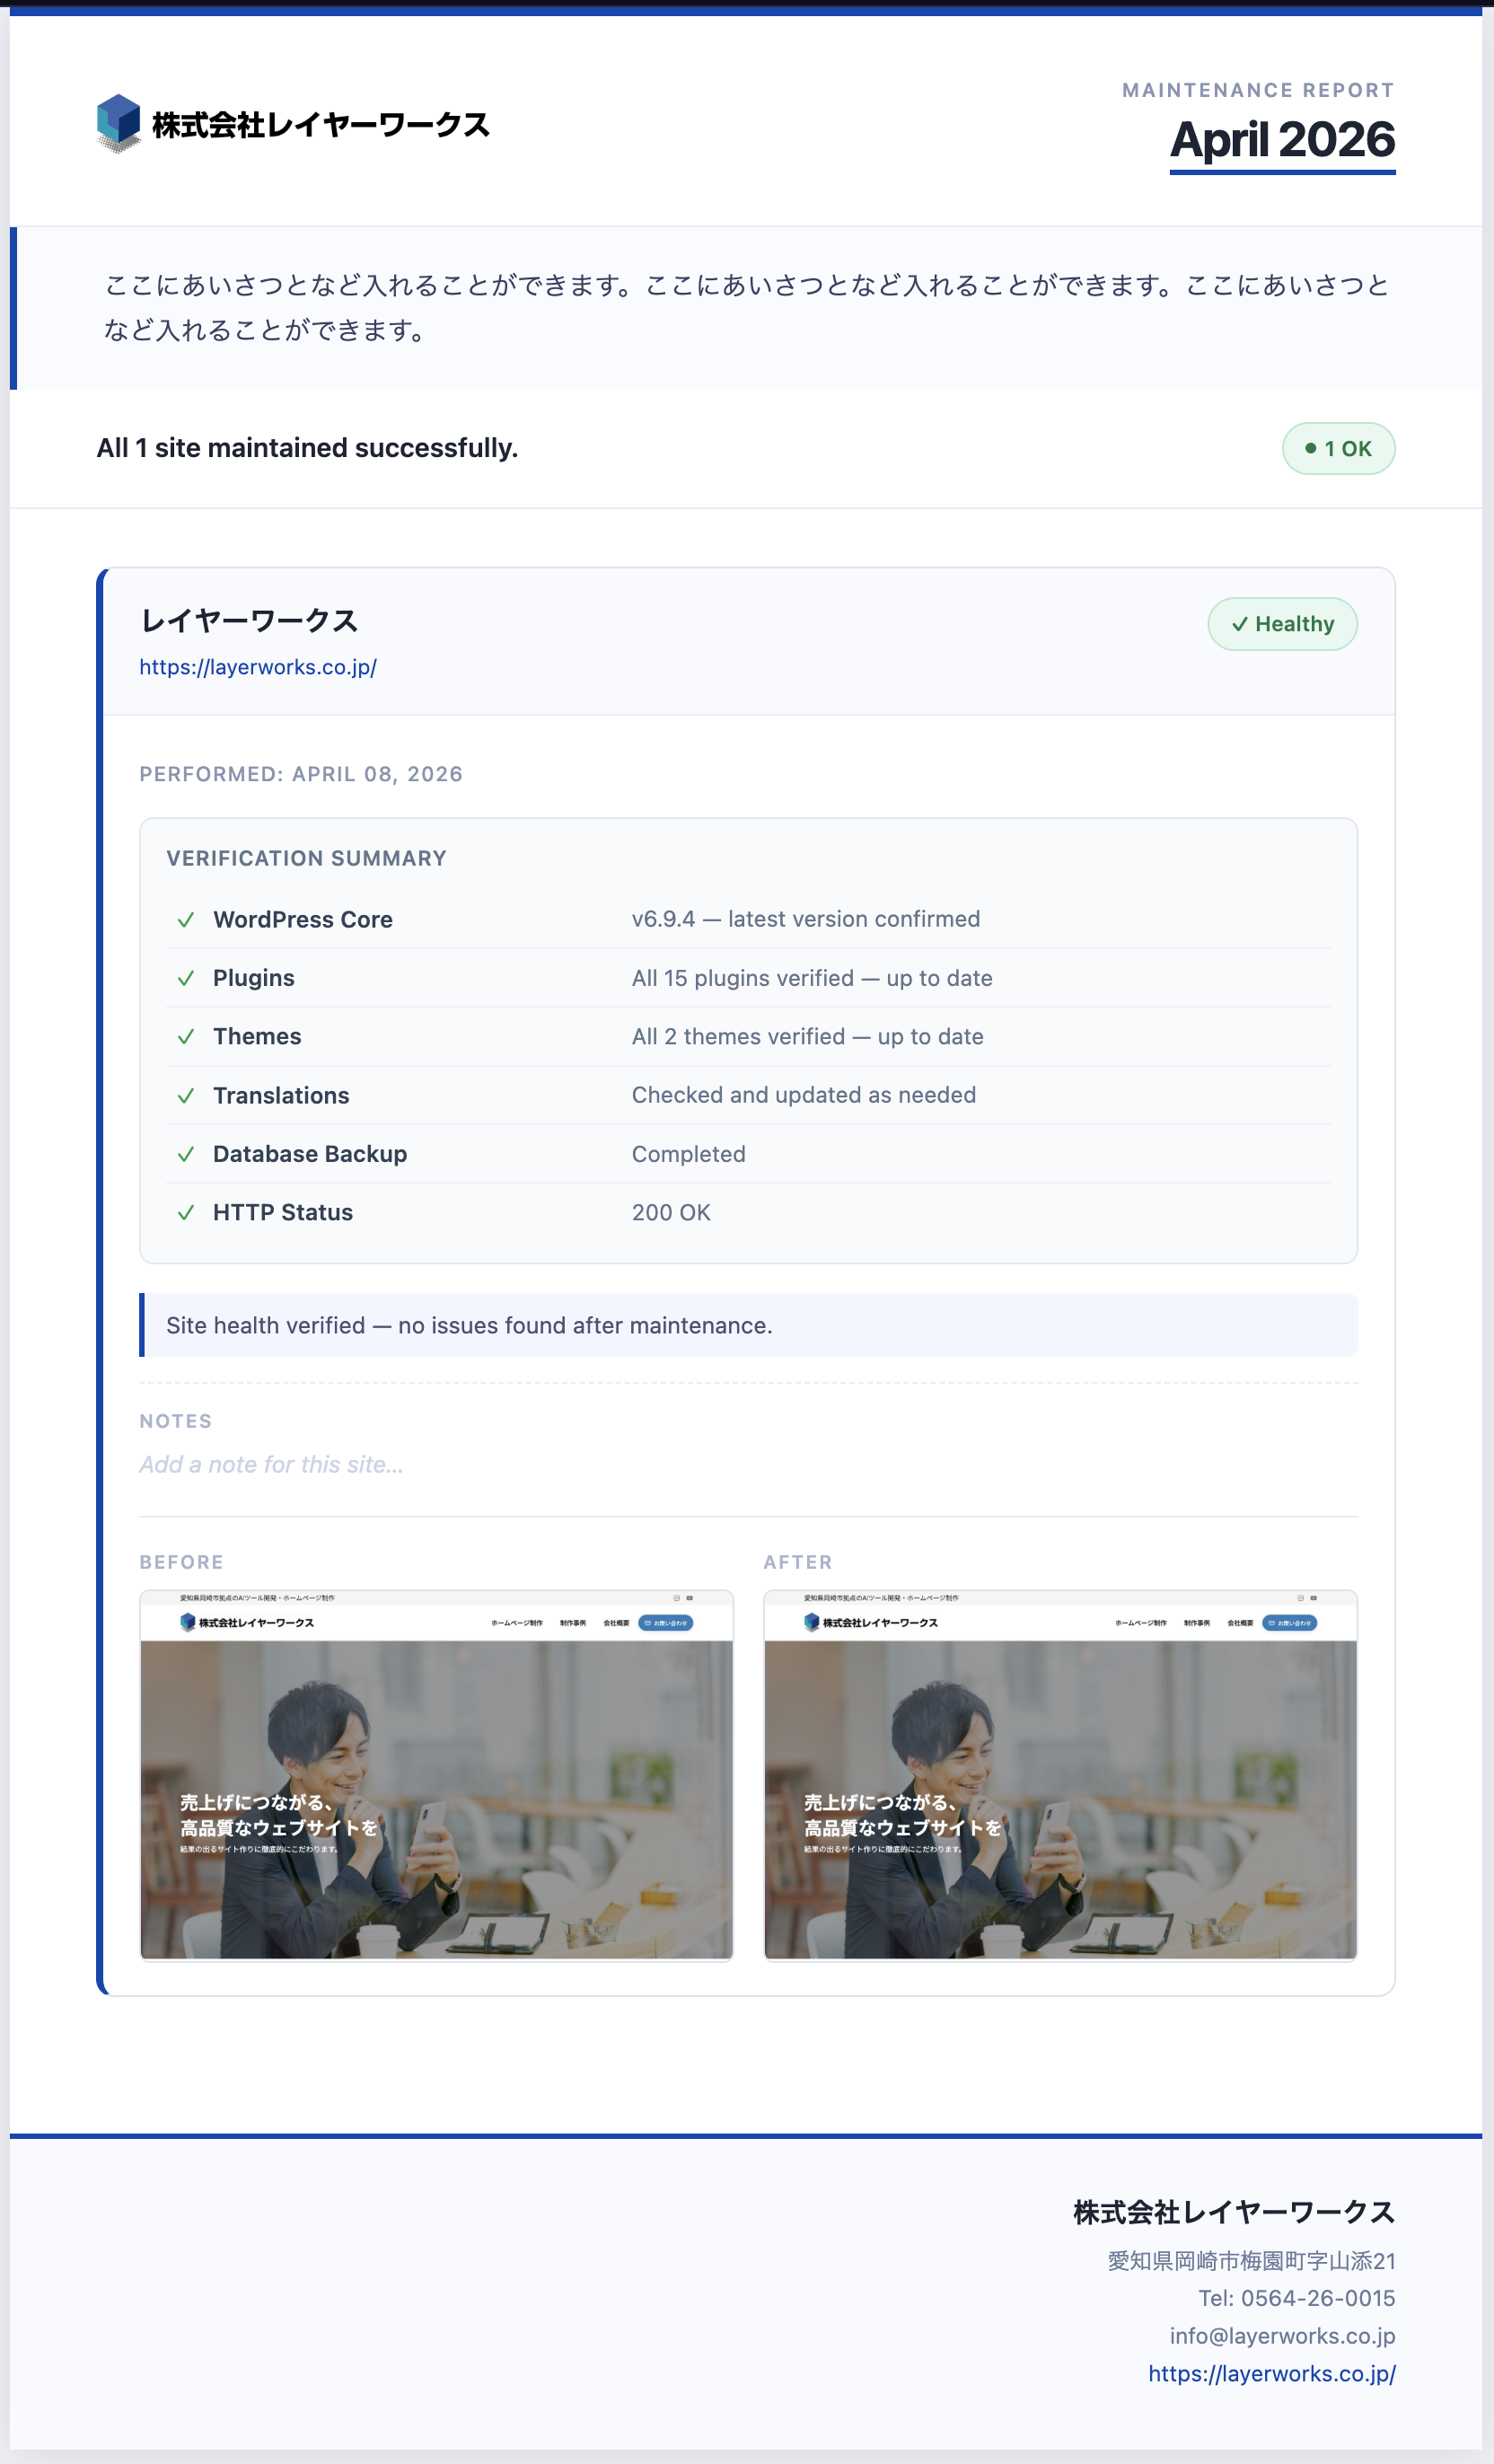
Generate client-ready maintenance reports with one click. Set your company name, logo, and accent color to produce branded PDF or HTML reports. Report preview and editing is free on all plans.
| Field | Description |
|---|---|
| Agency Name & Contact | Company name, address, phone, email, and website |
| Logo Image | Displayed in the report header. PNG / JPG recommended |
| Accent Color | Brand color used for headings and borders |
| Opening Message | Optional introductory text inserted at the top of each report |
Export all your site configurations, notification settings, and SSH profiles to a single file. When switching computers or recovering from a reset, just import the file and all your settings are instantly restored.
If you get stuck, our FAQ and contact form are always available.
Browse the FAQ